REVIEW · BASINGSTOKE
Basingstoke: Indoor Skydiving Experience with 2 Flights
Book on GetYourGuide →Operated by iFLY Indoor Skydiving UK · Bookable on GetYourGuide
A wind tunnel can feel like freefall. In Basingstoke, you get that rush without boarding a plane, thanks to a vertical wind tunnel and two flights built for first-timers.
What I like most is the focused coaching: your instructor talks you through body position and how to stay stable. I also love that the session packs in a serious amount of time in free-fall conditions, with an equivalent of 3 real skydives built into just 1.5 hours. The main thing to consider is the strict suitability rules and limits (weight, shoulders, pregnancy, and timing for check-in).
In This Review
- Key highlights in plain terms
- Entering iFLY Basingstoke: what to expect before you fly
- Gear up and get the safety routine down fast
- Your two indoor freefall flights: how the airflow time adds up
- After the flights: certificate and optional add-ons
- Value and pricing: is $107 for two flights a good deal?
- Who it suits best (and who should skip it)
- The “confidence factor”: why first-timers usually enjoy this
- Should you book iFLY Basingstoke for two flights?
Key highlights in plain terms
- Two flights, one tight session: You get repeated attempts so nerves settle faster.
- Instructor-led stability coaching: You’re not left guessing in the airflow.
- Equivalent freefall time of 3 real skydives: The session is designed to feel substantial, not short.
- State-of-the-art wind tunnel facilities: You’re using a modern setup with a “world’s newest” wind tunnel.
- A flight certificate included: You leave with proof you did it, not just a vague memory.
Entering iFLY Basingstoke: what to expect before you fly
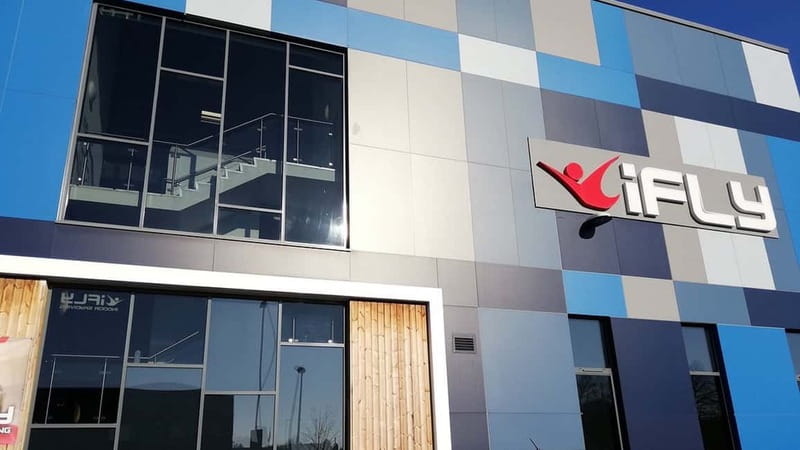
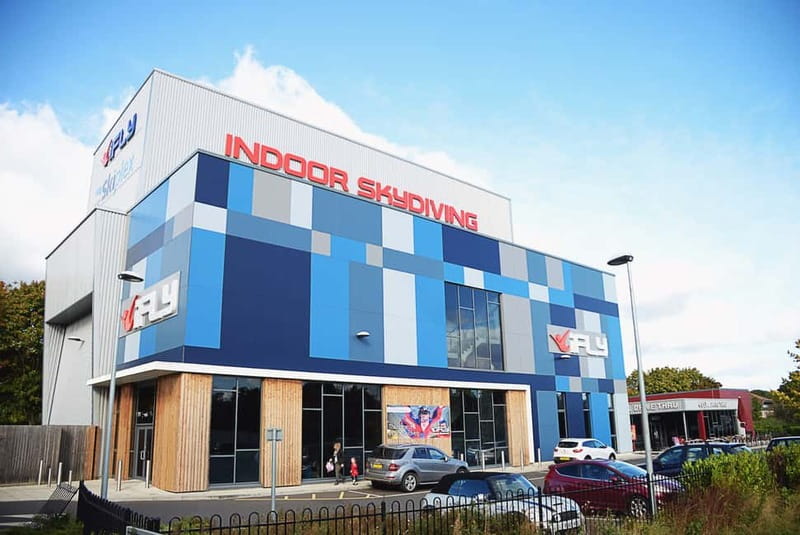
Your experience starts at iFLY Basingstoke Indoor Skydiving (this is the exact venue name you’ll want for maps). Plan to check in at least 45 minutes before your booked time. That “early” part matters more than it sounds, because the facility runs a manifest process similar to what you’d expect from airline check-in. If you’re even a little late, you can miss your window.
When you arrive, you’ll be doing the usual real-world prep: finding your check-in group, getting equipment sorted, and getting briefed so you know what’s coming next. The good news is the place is purpose-built for this. You’re not outdoors, not waiting for weather, and not stuck with long, weather-dependent delays. It’s a controlled environment designed for repeatable training and repeatable fun.
One practical tip: wear clothes that feel comfortable and fit close enough to move in. You’ll be suited up, but you’ll still be wearing something under the gear. If you show up in bulky layers, you’ll feel it when you get geared.
Also, keep in mind the instructor speaks English, so you can relax if you’re comfortable with that.
Gear up and get the safety routine down fast
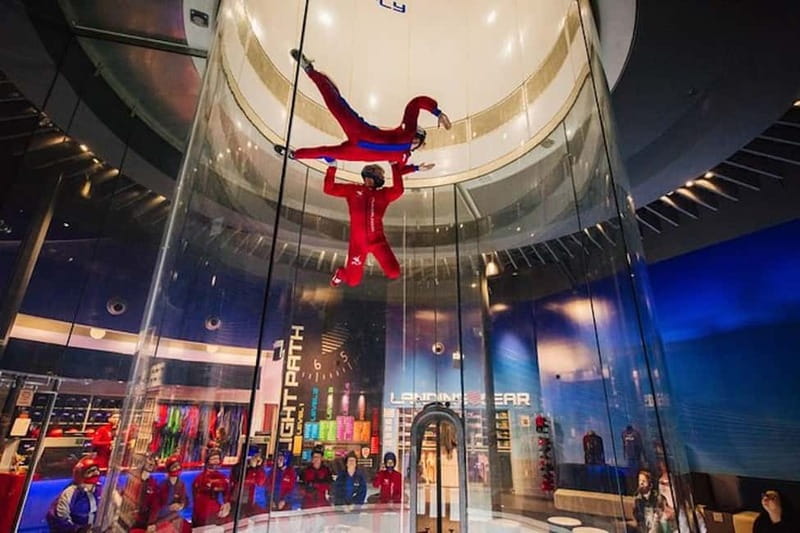
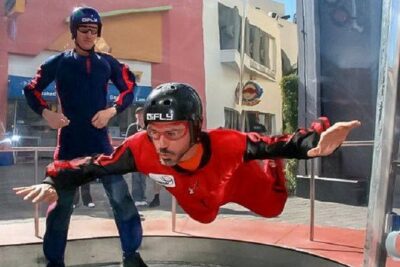
Inside, the first shift is from excitement to instruction. You’ll get suited up and then move into the safety flow your instructor uses for the tunnel session.
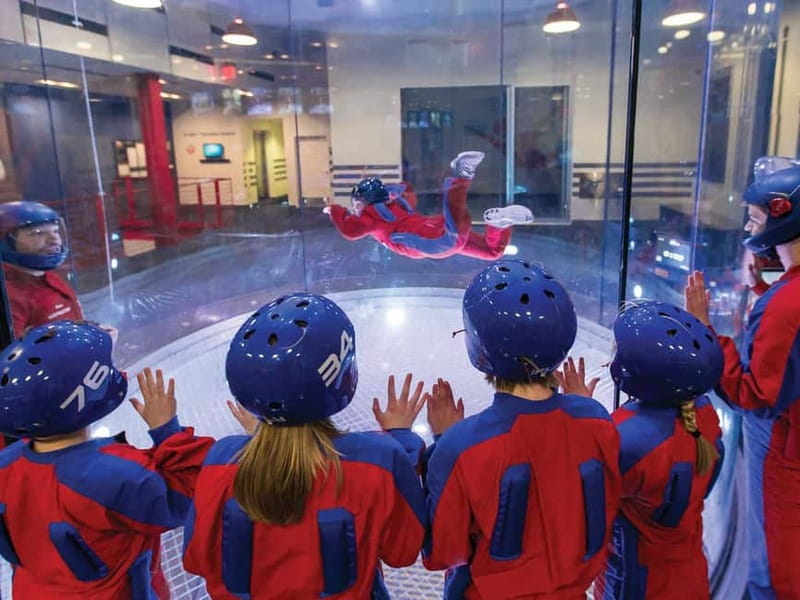
A big part of why this is good for adrenaline seekers is that the excitement is paired with structure. You’re not just thrown into high-speed airflow. You’re walked through how to position your body for the tunnel. You’ll be learning how to control yourself in free-fall conditions, with your instructor giving the necessary instruction as you go.
Before anyone steps into the tunnel, there are clear boundaries for safety:
- No intoxication is allowed.
- You must not weigh more than 18 stone 7 lb / 117 kg.
- You can’t have a history of dislocated shoulders.
- You can’t wear a hard cast.
- You’re not a fit if you have certain mobility or back issues (details later in the “Who should go” section).
If any of these apply, it’s worth handling it early rather than showing up. This isn’t the kind of activity where you want to discover limits at the last second.
From a first-timer perspective, what matters most is the mental reset. You’ll likely feel a mix of nerves and thrill. The instructor’s job is to convert that into simple cues: how to move, what to feel, and what to do next. That’s exactly what people tend to praise—skilled instructors who build confidence so you can enjoy the moment instead of fighting fear.
Your two indoor freefall flights: how the airflow time adds up
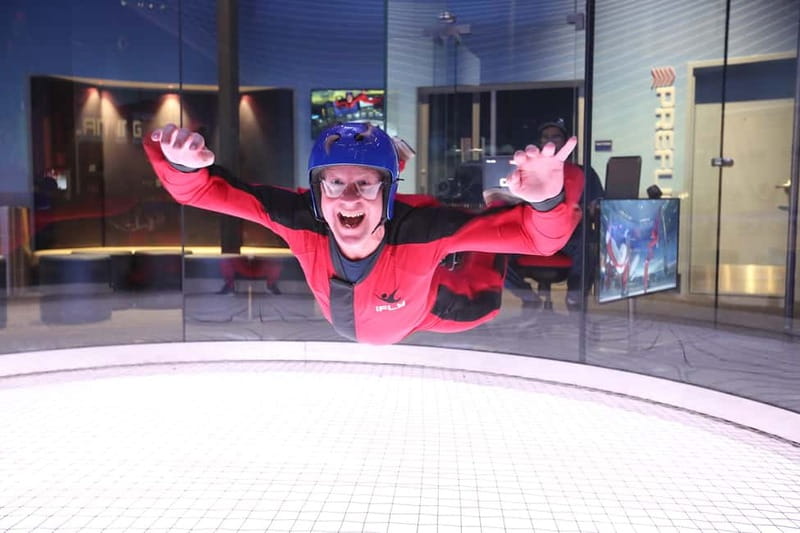
You’ll take part in two flights. Each flight is built around the same core idea: you step into the vertical wind tunnel and experience free-fall conditions with coaching.
The provider describes the total free-fall time as equivalent to 3 real skydives. What that means in real life is that you’re not doing a token “one-and-done” sensation. The plan is to give you multiple chances to learn your body position, get your bearings, and then repeat with more confidence.
Here’s what I find makes a huge difference with two flights instead of one:
- Flight one helps you understand the feel of the airflow.
- Flight two is where you start to control your stability more naturally.
So if you’re the type who freezes when you’re unsure, the repetition helps. You’re not starting from zero again—you’re building.
What you should focus on during your flights is the instructor’s guidance and your own comfort cues. You’ll be learning in a controlled space. You don’t need to be a daredevil. You need to be willing to listen and follow instructions.
And yes, it’s intense. Even in an indoor setting, the sensation of being supported by air while you float in free-fall conditions hits hard. That’s the core appeal for thrill seekers: the skydiving-style rush, without the plane ride and without waiting for open skies.
After the flights: certificate and optional add-ons
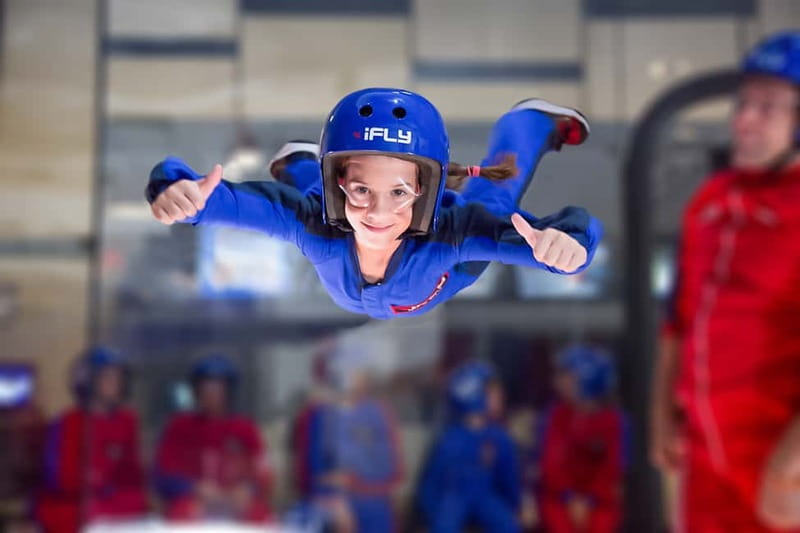
Once you finish your two flights, you’ll leave with a flight certificate (included). It’s a small detail, but it gives the experience closure. It turns the memory into something you can keep and share.
Then there’s the add-on menu. None of these are required, but they’re there if you want to make the day last longer or create better souvenirs:
- Photos and videos are available to purchase on the day.
- You can buy extra flights.
- You can purchase virtual reality flights.
- You can purchase High-Flight (an additional option).
My practical take on extras: start with what’s included. If you get the rush you hoped for, add something only if you genuinely want more airtime or media. If you’re still figuring out how you feel after flight one, you’ll be glad you didn’t overcommit right away.
Value and pricing: is $107 for two flights a good deal?
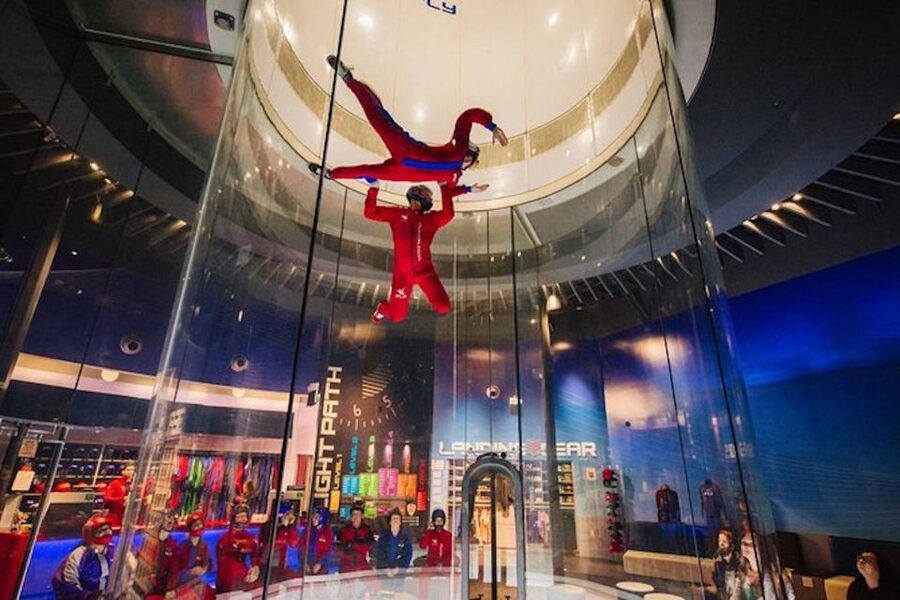
At $107 per person for about 1.5 hours, this sits in the category of paid adrenaline, not a casual “walk-in” activity. The real question is value: what are you paying for?
You’re paying for:
- Two flights
- Equivalent free-fall time of 3 real skydives
- Equipment hire
- A flight certificate
- Instructor coaching throughout
That’s not just access to a wind tunnel. It’s coached, structured time in the airflow, plus gear and the admin that makes it run safely. Compared to “DIY” thrills, you’re also paying for controlled conditions—no weather, no plane travel, and a facility that’s set up specifically for repeatable beginner sessions.
Extras like photos/videos and additional flights can raise the final spend. But the base package already targets the main payoff: getting into the tunnel twice so you can improve across the session.
If your goal is to try this once without committing to a bigger day or travel plan, this is the simplest route.
Who it suits best (and who should skip it)
This experience is best for people who:
- Want an adrenaline hit with structure and coaching
- Are comfortable following safety instructions
- Like the idea of repeating an attempt so learning happens quickly
- Prefer a controlled environment over weather-dependent outdoor activities
It may not be suitable if you’re:
- Under 3 years old
- Pregnant
- Over 260 lbs / 118 kg (note there’s also a stricter cap listed for weight: 117 kg)
- Dealing with back problems
- Managing mobility impairments
- Not allowed to participate due to shoulder history (history of dislocated shoulders)
- Unable to meet equipment rules (no hard cast)
- Feeling unable to follow basic rules (for example, no intoxication)
If you’re on the edge for weight or medical history, contact the local partner directly before you go. The info you have here is strict, and they’re the only ones who can confirm edge cases.
The “confidence factor”: why first-timers usually enjoy this
A wind tunnel can look intimidating, but the format is designed to reduce the unknowns. You arrive, get suited up, get coached, and then you build skill and confidence across two flights.
This is where the experience tends to win people over. You’re not left to guess. The instructors encourage you and help you get your bearings fast in a place where the airflow does most of the work. The goal isn’t perfection. The goal is safe control and a fun session that feels like real free-fall conditions.
If you’re nervous about trying something new, this is a good choice because the experience is structured. You’ll know what happens next, even if your body is doing something new.
Should you book iFLY Basingstoke for two flights?
Book it if you want a high-impact thrill that’s:
- Coached and beginner-friendly
- Built around two flights so you get a second chance to feel more confident
- A good match for a 1.5-hour outing without plane travel
Skip it (or check with the provider first) if you don’t fit the safety limits or you’re dealing with medical restrictions like back problems, dislocated shoulder history, or mobility limitations. Also, if you can’t realistically arrive 45 minutes early, the schedule pressure can become more hassle than fun.
If you’re thinking about a “try it once” adrenaline experience in South East England, this is one of the more direct routes: you show up, follow the instruction, step into the wind tunnel, and you leave with the certificate and the story.