REVIEW · AUSTIN
Austin Indoor Skydiving Experience with 2 Flights & Personalized Certificate
Book on Viator →Operated by iFLY Indoor Skydiving · Bookable on Viator
Ready to fly without a plane? At iFLY Austin, you get two instructor-led free-fall wind-tunnel flights plus a flight-achievement certificate. It’s a real “wow” activity for first-timers who want the feeling of skydiving without the jump.
I love that you don’t need experience. After a short training session, you fly one-on-one with a certified instructor in a wall-to-wall column of air, so you’re not figuring it out alone. I also like how the schedule offers multiple time options, which makes it easier to slot into a day in Austin.
One consideration: the actual time in the chamber is brief. Each flight lasts about 60 seconds, so you’re getting two quick bursts of adrenaline, not a long continuous run.
Key points to know before you go
- Two flights are included, so you’re not paying for just a trial run
- One-on-one instructor time in the tunnel means you get real corrections, fast
- A personalized certificate of achievement gives the experience a keepsake feel
- You’ll train first, then practice with the gear before your flight rides
- Plan for restrictions (health, pregnancy, and weight) so you don’t waste your day
- Bring your hair game: loose hair and jewelry can become an annoying mess in the wind
In This Review
- Meet iFLY Austin on US-183: what “arrival” feels like
- The wind-tunnel setup: why you float instead of jump
- Training First: how the one-on-one coaching actually works
- Two flights in the chamber: what to expect in your 60 seconds
- Upgrades you might hear about
- The personalized certificate: more than a gimmick
- What to wear (and what to leave at home)
- Who this is best for in Austin
- Safety checks: the health and weight rules you must take seriously
- Value at $135.31: what you’re really getting
- Practical tips that make your first flight feel easy
- The most praised part: instructors who make safety feel calm
- Should you book iFLY Austin for two wind-tunnel flights?
- FAQ
- FAQ
- How does the Austin indoor wind tunnel work?
- Do I need experience to fly?
- How long is the experience, and how long is each flight?
- What is the minimum age?
- What should I wear?
- Are there weight limits or medical restrictions?
- Can friends or family watch without flying?
Meet iFLY Austin on US-183: what “arrival” feels like
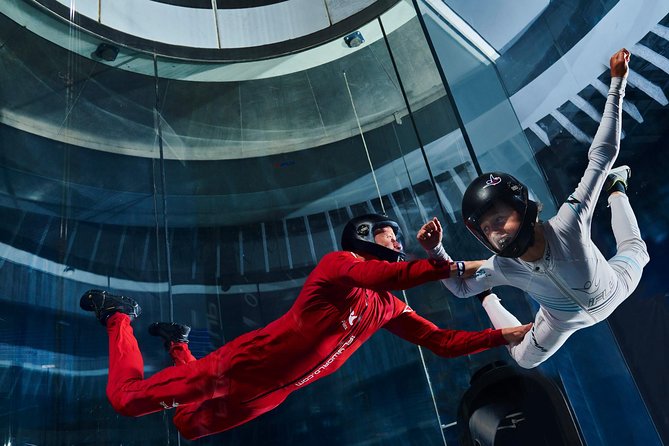
This experience runs at iFLY Indoor Skydiving – Austin, at 13265 US-183, Suite A, Austin, TX 78750. There’s no hotel pickup, so you’ll want to plan your own ride-share or drive and arrive on time.
Your session starts promptly after check-in. I’d aim to show up 10–15 minutes early so you can get geared up without feeling rushed. Sessions also cap at 12 people, which helps keep the whole place from feeling chaotic.
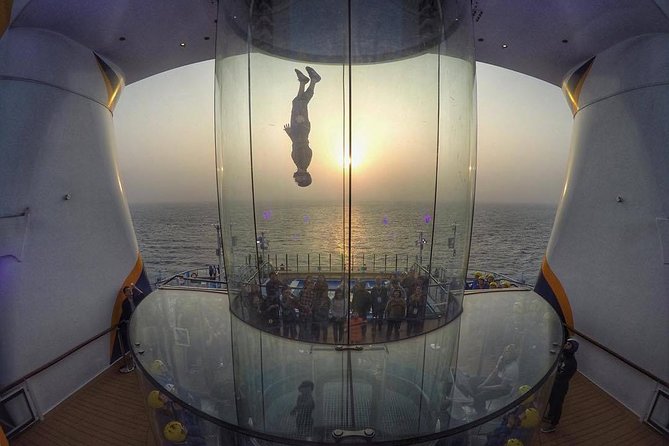
If you’re going with family or friends, they can watch you from the observation area while you fly one at a time with an instructor. That’s a nice setup for birthdays and team outings, because everyone gets to be part of it even if you’re the one in the suit.
The wind-tunnel setup: why you float instead of jump
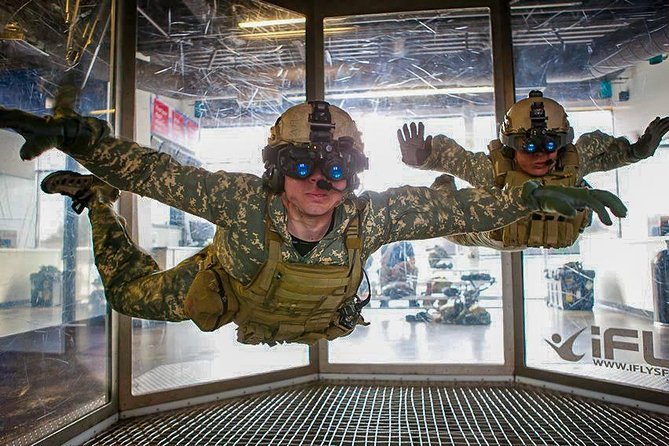
Here’s the core idea: a vertical wind tunnel uses powerful fans to pull air upward and then push it back down, creating a steady column of air. That column is what supports you and lets you “fly” without leaving the ground.
Instead of a plane ride and a jump, you get a controlled, repeatable environment. The sensation is the big draw: face-in-the-wind excitement, with an instructor right there coaching your body position.
The air speed is high enough to keep you safely floating, which is the whole point. You’ll focus on your posture, breathing, and hand position—not on figuring out how to fall.
You can also read our reviews of more tours and experiences in Austin.

Training First: how the one-on-one coaching actually works
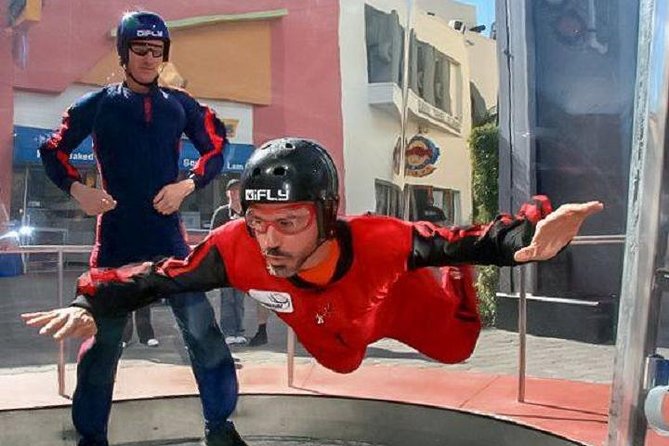
You don’t just get thrown into the tunnel. First comes training and gear use, and it’s required for first-time flyers. The training session is where you learn how to hold your body so the instructor can stabilize you and guide you.
During the experience, you fly one-on-one with a certified flight instructor in the chamber. That matters because the feedback is immediate. In practice, that turns a scary-sounding activity into something you can do quickly, even if you’re nervous.
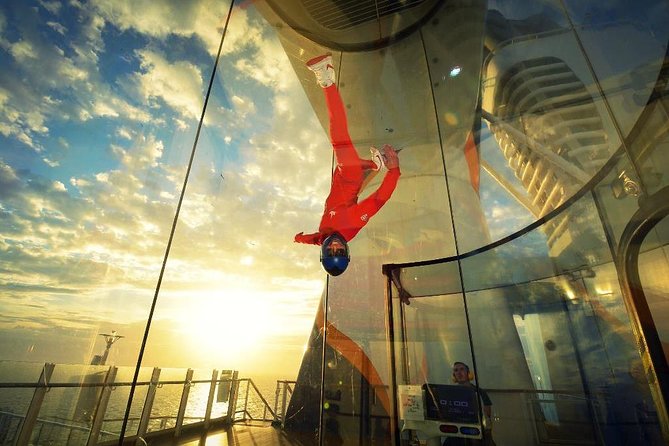
You’ll wear a flight suit and use the right head protection. They’re set up so the instructor can safely spot you if needed, which is why you don’t pick and choose your own style of clothing. Think “uniform,” not costume.
Breathing is also straightforward. It’s basically like sticking your head out a car window while driving—breezy, but not hard to breathe. You’ll still want to stay calm and follow instructions, because nerves can make your body tense.
Two flights in the chamber: what to expect in your 60 seconds
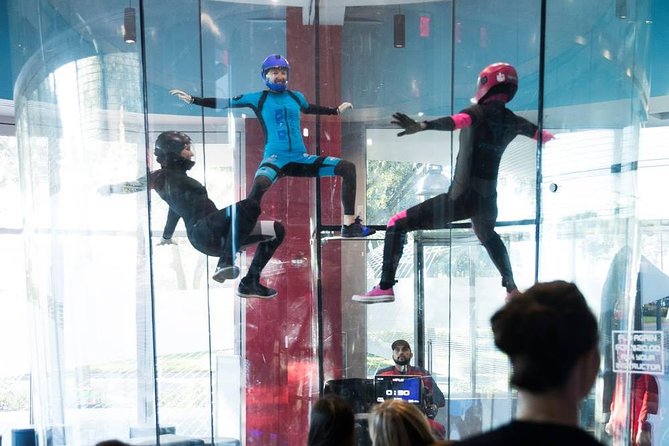
Your booking includes two flights for one person. Inside the tunnel, each flight lasts about 60 seconds. That sounds short until you realize you’re not just “watching” sky action—you’re living it.
You’ll get your first flight to learn the body feel and basic control. Then your second flight usually goes better because your muscles and instincts catch up. In fact, one of the most useful takeaways from real first-timers is that the second flight often feels like the moment things click.
You’re in the air, but it’s not the free-for-all of doing tricks right away. The primary focus is safety and control. If you’re curious about more advanced moves, you’ll need to talk with your instructor during training and only advance when they say it’s appropriate.
Also, plan your expectations. This is not a long, slow cruise through the air. It’s quick and intense. Two rides means you get a warm-up and a second chance to enjoy it with less uncertainty.
Upgrades you might hear about
Some people opt to add more flights or choose different flight options for extra variety. If you decide you want more time in the tunnel, ask on site what’s available for your session.
The personalized certificate: more than a gimmick
One of the included perks is a certificate of flight achievement. It’s printed as part of your experience, and it’s the kind of souvenir that feels real—not just a ticket you toss in a drawer.
This is especially good if you’re celebrating something like a birthday or a personal challenge. The wind-tunnel flight has that “I did it” feeling, and the certificate gives it an extra layer of closure.
It’s also a nice fallback if you’re traveling light. You don’t need to buy merch or figure out what to bring home. You’ll leave with something meaningful that fits in your daypack.
What to wear (and what to leave at home)
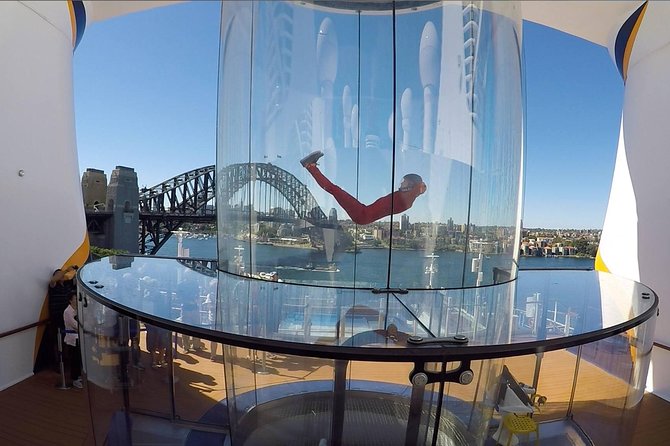
Dress matters here because wind + movement can turn small items into big distractions.
For clothing, wear comfortable stuff and well-fitting, lace-up sneakers or running shoes. You’ll be in a flight suit over your clothes, so you want layers that don’t bunch up. You’ll also be moving your arms and keeping a stable posture.
If you wear long hair, don’t wing it. Tie it up. Braiding and using a low bun is a smart move because loose hair can tangle in the wind. One practical tip that keeps coming up: leaving hair unmanaged is how you end up spending extra time untangling later.
Leave jewelry at home if you can. Earrings, necklaces, bracelets, watches, rings, and hair accessories are the typical troublemakers because they can flap or become loose. Empty your pockets too.
Glasses are not automatically a deal-breaker. There are larger goggles that can fit over glasses, so you can still see clearly during your flight.
Who this is best for in Austin
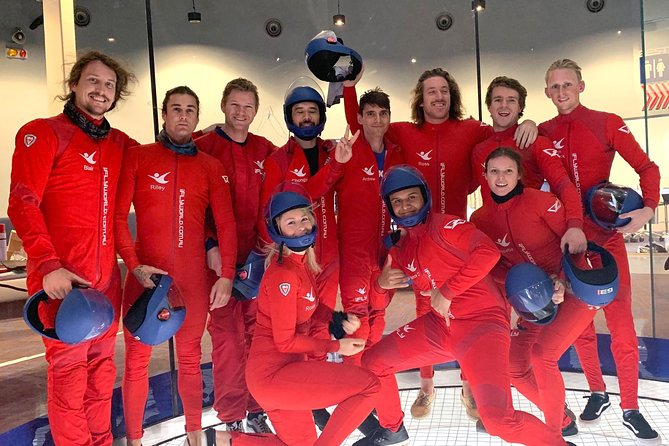
This is a strong choice if you’re chasing that “free-fall” thrill but you don’t want the logistics or fear that comes with actual jumping from an airplane.
It also works for a wide range of ages. The minimum age is 3, and there’s no upper age limit listed. Kids and adults can both enjoy the one-on-one coaching setup.
If you’re going with family, you’ll probably appreciate that the group size stays controlled (max 12 per session) and your flying happens in sequence. That keeps the vibe friendly instead of stressful.
If you or a family member has physical or cognitive challenges, iFLY notes that you can contact the location to request a certified instructor for All Abilities flyers. If this matters for you, reach out ahead of time so they can plan appropriately.
Safety checks: the health and weight rules you must take seriously
Indoor wind-tunnel flying still has real safety boundaries. Here are the ones that are explicitly stated:
- You can’t fly if you have previous neck or back injuries, heart problems, shoulder dislocations, or you’re pregnant.
- You also won’t be able to fly with a hard cast.
- Weight limits apply: you must be under 300 lbs.
- If you weigh between 260 and 300 lbs, you must note your current weight at checkout, and local staff will evaluate whether you can be accommodated.
This matters because it’s not something you can “hope will work out” on the day. If you’re close to a weight threshold or you have a relevant medical history, plan to call or ask before you lock in your time.
Also remember: if you’re under 18, a parent or guardian must sign the waiver. That’s common, but it’s worth planning so check-in goes smoothly.
Value at $135.31: what you’re really getting
At $135.31 per person, you’re buying a full first-time experience built around two flights. That price includes:
- Two flights for one person
- Training and use of all gear
- One-on-one guidance from a certified flight instructor
- A certificate of flight achievement
- All taxes, fees, and handling charges
It’s not a “cheap” activity, but it’s not just a random video game experience either. You’re paying for trained instruction, a flight suit/gear setup, tunnel time, and safety control in a supervised environment.
What you should budget separately:
- Hotel pickup and drop-off (not included)
- Food and drinks (not included)
For value-focused travelers, the key question is simple: do you want to experience the sensation of free-fall enough to justify instructor time and tunnel time? If yes, this booking format is a very direct way to do it.
Practical tips that make your first flight feel easy
I like experiences where the instructions are clear and the staff stays on-task. This one is built around that. You’re learning the position, then you’re flying with someone watching your form the whole time.
Here are the practical things to do so you get the best first session:
- Wear lace-up sneakers and comfortable clothes you can move in
- Tie up long hair and ideally braid it or use a low bun
- Skip jewelry and empty your pockets
- If you wear glasses, rest easy: there are goggles that can fit over them
- Arrive 10–15 minutes early so check-in doesn’t eat your energy
And a small mindset shift helps too: your goal on flight one is not to look perfect. Your goal is to feel stable, breathe normally, and follow the instructor’s cues.
The most praised part: instructors who make safety feel calm
The experience gets high marks for professionalism and hands-on instruction. You’ll want instructors who can explain the body position in plain language and keep you comfortable while you’re in motion.
Instructors named Drew, Jordan, Matt, and an instructor named Austin show up in praised feedback for being friendly and supportive. That lines up with what you want here: not attitude, not pressure—clear coaching and a calm safety vibe.
That one-on-one attention is also why this works for people who are curious but nervous. You’re not “joining a class” and hoping for the best. You’re getting guided instruction while you fly.
Should you book iFLY Austin for two wind-tunnel flights?
Book it if you want:
- The feeling of free-fall-style flight without jumping from a plane
- A first-time-friendly experience with training and one-on-one help
- A fun group activity where friends can watch while you fly
- A keepsake in the form of a personalized certificate
Skip (or ask lots of questions first) if you:
- Are likely to be affected by the stated health or weight limits
- Want more time in the air than two short rides (each flight is about 60 seconds)
- Need hotel pickup or transportation support, since it’s not included
If you’re within the restrictions and you can handle the idea of two quick, high-energy flights, this is one of those “do it once” experiences that still feels like a real achievement. It’s built for turning hesitation into action—fast, safely, and in a way you can actually repeat without a sky day full of variables.
FAQ
FAQ
How does the Austin indoor wind tunnel work?
A vertical wind tunnel pulls air through the chamber using fans at the top, then pushes it back down the sides. The air is compressed and sped up before it reenters the flight chamber, creating a smooth column of air that lets you float.
Do I need experience to fly?
No experience is required. You’ll start with training and then fly one-on-one with a certified instructor who stays with you in the chamber.
How long is the experience, and how long is each flight?
Each flight in the wind tunnel lasts about 60 seconds. The overall first-time experience takes about 1 hour and 30 minutes from start to finish.
What is the minimum age?
The minimum age is 3 years. Children under 18 must have a parent or guardian sign their waiver.
What should I wear?
Wear well-fitting, lace-up sneakers or running shoes and comfortable clothes. The flight suit goes on over your outfit. If you have long hair, you should tie it up (braiding and a low bun are recommended).
Are there weight limits or medical restrictions?
Yes. You must be under 300 lbs. Those between 260 and 300 lbs require evaluation on arrival after noting weight at checkout. You won’t be able to fly if you are pregnant or if you have previous neck, back, heart injuries, or shoulder dislocations, or if you wear a hard cast.
Can friends or family watch without flying?
Yes. If someone comes to watch, they can accompany you to the observation area while you fly. They can watch during your session.